Privacy statement: Your privacy is very important to Us. Our company promises not to disclose your personal information to any external company with out your explicit permission.
Electric Towel Rack is a kind of high-tech products, and belongs to the high-end Bathroom Accessories. Today please let me show you how to install electric towel rack, you can do it at home easily.
#bathroom accessories##Towel Heater#Towel Warmer#
Step 1 Determine the installation position
Select the appropriate installation position according to the product size. General electric towel rack is suitable for installing on both sides of the wall of the toilet and washing face
Basin or bathroom cabinet position of the upper left or right wall, into the bathroom on both sides of the spare wall.
Step 2 Determine the height
First, lift the body of the electric towel rack to the position to be installed for simulation adjustment, to confirm whether the height and position are appropriate, generally not more than the highest position for manual access to the towel.
Step 3 Determine the spacing
Measure the distance of mounting holes on the frame body, first determine the horizontal hole spacing, then determine the upper and lower hole spacing.
Step 4 Determine the location of the wall drilling
Measure the distance between the upper and lower brackets, determine the distance between the upper brackets, determine the horizontal position of the brackets and mark the definite points on the tile with a marker.

#towel heater#towel warmer#
Step 5 Drilling
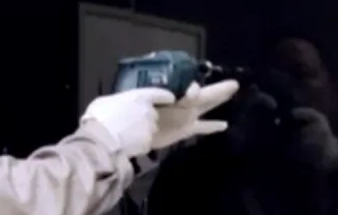
After determining the location of the drilling point, drill the hole with a pistol. Note that if the wall of your home is ceramic tile, please use a glass drill first
Through the tile. If it's a concrete wall, just use a hammer drill.

Step 6 Insert the expansion screw
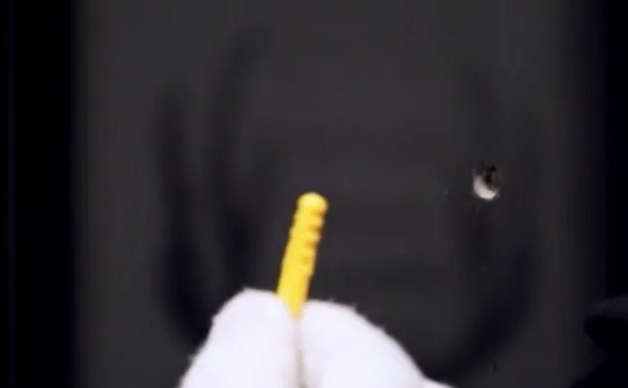
After all four holes have been drilled, insert the plastic expansionary screws and tap them into the wall with a hammer.

#Jiangmen Faer Sanitary#www.faersanitarys.com#
Step 7 Fixed bracket
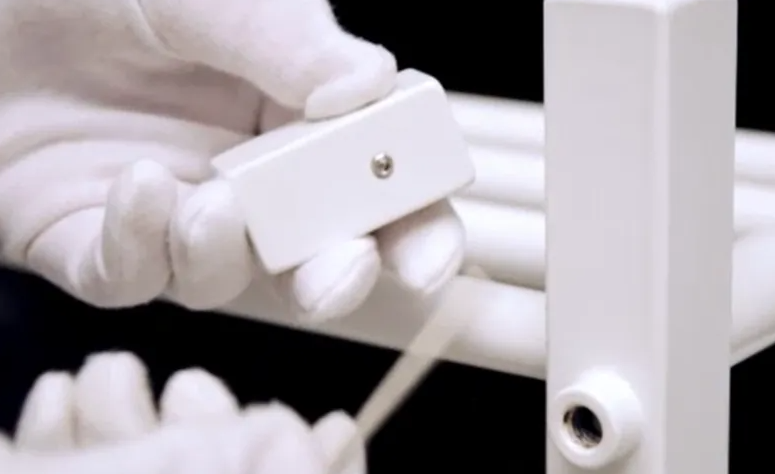
Use an Allen wrench to reverse and loosen the pointed screws fitted into the square bracket and remove the cylindrical bolts inside. Then insert the four circular fixing holes on the frame body and tighten the pointed screws.
Step 8 Install the upper exhaust valve
Remove the black protective cover from the four corners of the thermal hair frame. Tighten the plug on the top and bottom of the frame body by hand, and install the exhaust valve on the top of the frame body with the key wrench.
Attention: The exhaust valve must be tens of thousands of square meters of the mounting frame, and form a diagonal line with the heating rod installation position.
Step 9 Pour in liquid
Just pour ordinary tap water, turn the electric towel rack upside down, and fill liquid with a well configured funnel.
Step 10 Install heating rod
Insert the heating rod into the frame, stick the metal base at the bottom of the heating rod with a Y-shaped wrench for rotation, and tighten it.
Step 11 Install temperature controller
Align the three wire position holes in the temperature controller with the three metal contacts of the heating rod, push the plastic ring toward the heating rod, and make the plastic ring close to the metal base of the heating rod. Then use a black plastic wrench to seize the white plastic ring and rotate it clockwise to tighten it
Step 12 Fixation
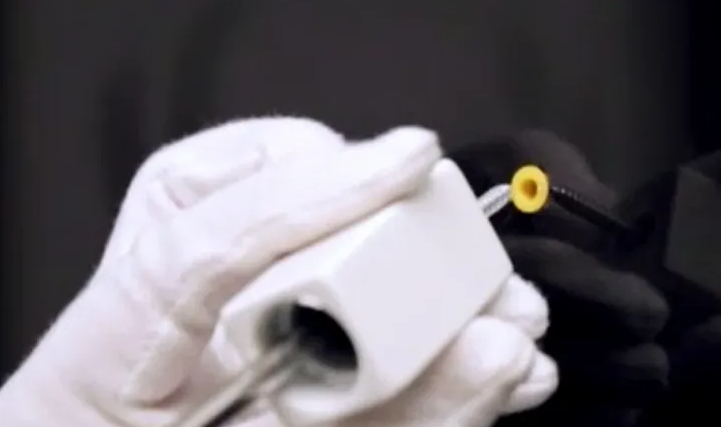
Insert the fixing screws through the holes in the support, tighten the screws using a Phillips screwdriver, and secure the support to the expansion screws on the wall.

Attention: The side of the bracket with screw holes is facing outwards to facilitate the rotation of the pointed screws during subsequent fixation.
That's how to install the electric Towel Bar! Do you get it? I hope you found this article helpful.
#Kitchen Faucet#towel heater#towel warmer#bathroom accessories#
#Jiangmen Faer Sanitary#
#www.faersanitarys.com#
#MB:13066239139#
LET'S GET IN TOUCH

Privacy statement: Your privacy is very important to Us. Our company promises not to disclose your personal information to any external company with out your explicit permission.

Fill in more information so that we can get in touch with you faster
Privacy statement: Your privacy is very important to Us. Our company promises not to disclose your personal information to any external company with out your explicit permission.